![]()
It is autumn again, and cooks and bakers go crazy about everything pumpkin. Cream of pumpkin soup, pumpkin pie, pumpkin ice cream – all of these start out with the same ingredient, a soft mash of pumpkin flesh. And as with so many things, the one you make yourself is much better than the canned version from the store. This raises the question: how do you make a truly concentrated and tasty pumpkin purée?
The antagonists
Regardless of what you’re cooking using pumpkin—bread, soup, cheesecake, and of course pie are all options—your first obstacle is to use the right type of pumpkin: you must avoid the jack-o’-lantern pumpkins. Instead, look for the pie or sugar pumpkins. They’re generally much smaller, only a few pounds each. If you’re shopping at a supermarket, they have PLU code 3134. Cheese pumpkin and butternut squash are also great varieties for cooking; if in Europe, try looking for the local translation of the term “musk pumpkin” (from the Latin name Cucurbita moschata), which is a more generic name including multiple type of tasty pumpkins and squashes.
You can find more information about pumpkin varieties at Jack Creek Farms’ All About Pumpkins site, the University of Illinois Extension’s Pumpkins and More, and of course Wikipedia’s list of pumpkin varieties.
Once you’ve acquired good cooking pumpkins, you’re left with a few obstacles: the nearly impenetrable shell, the fibrous strands, and the 90% or more water content. Thankfully, with a few tricks, each is fairly easy to overcome.
The Results
Four pie pumpkins will yield about 50 oz (1.4 kg) of purée (a little over what you’d get in three cans).
Dramatis personæ
- Jellyroll pan (often called a cookie sheet, with walls on all four sides)
- Food processor (or something else to purée the cooked pumpkin)
- Tea spoon, tongs, spatula
- Kitchen towel
- Mallet or hammer
- Meat cleaver or other sturdy knife
- Oven capable of 425°F (220°C)
Preparing the pumpkins for the oven
Preheat the oven to 425°F/220°C.
Opening the pumpkins

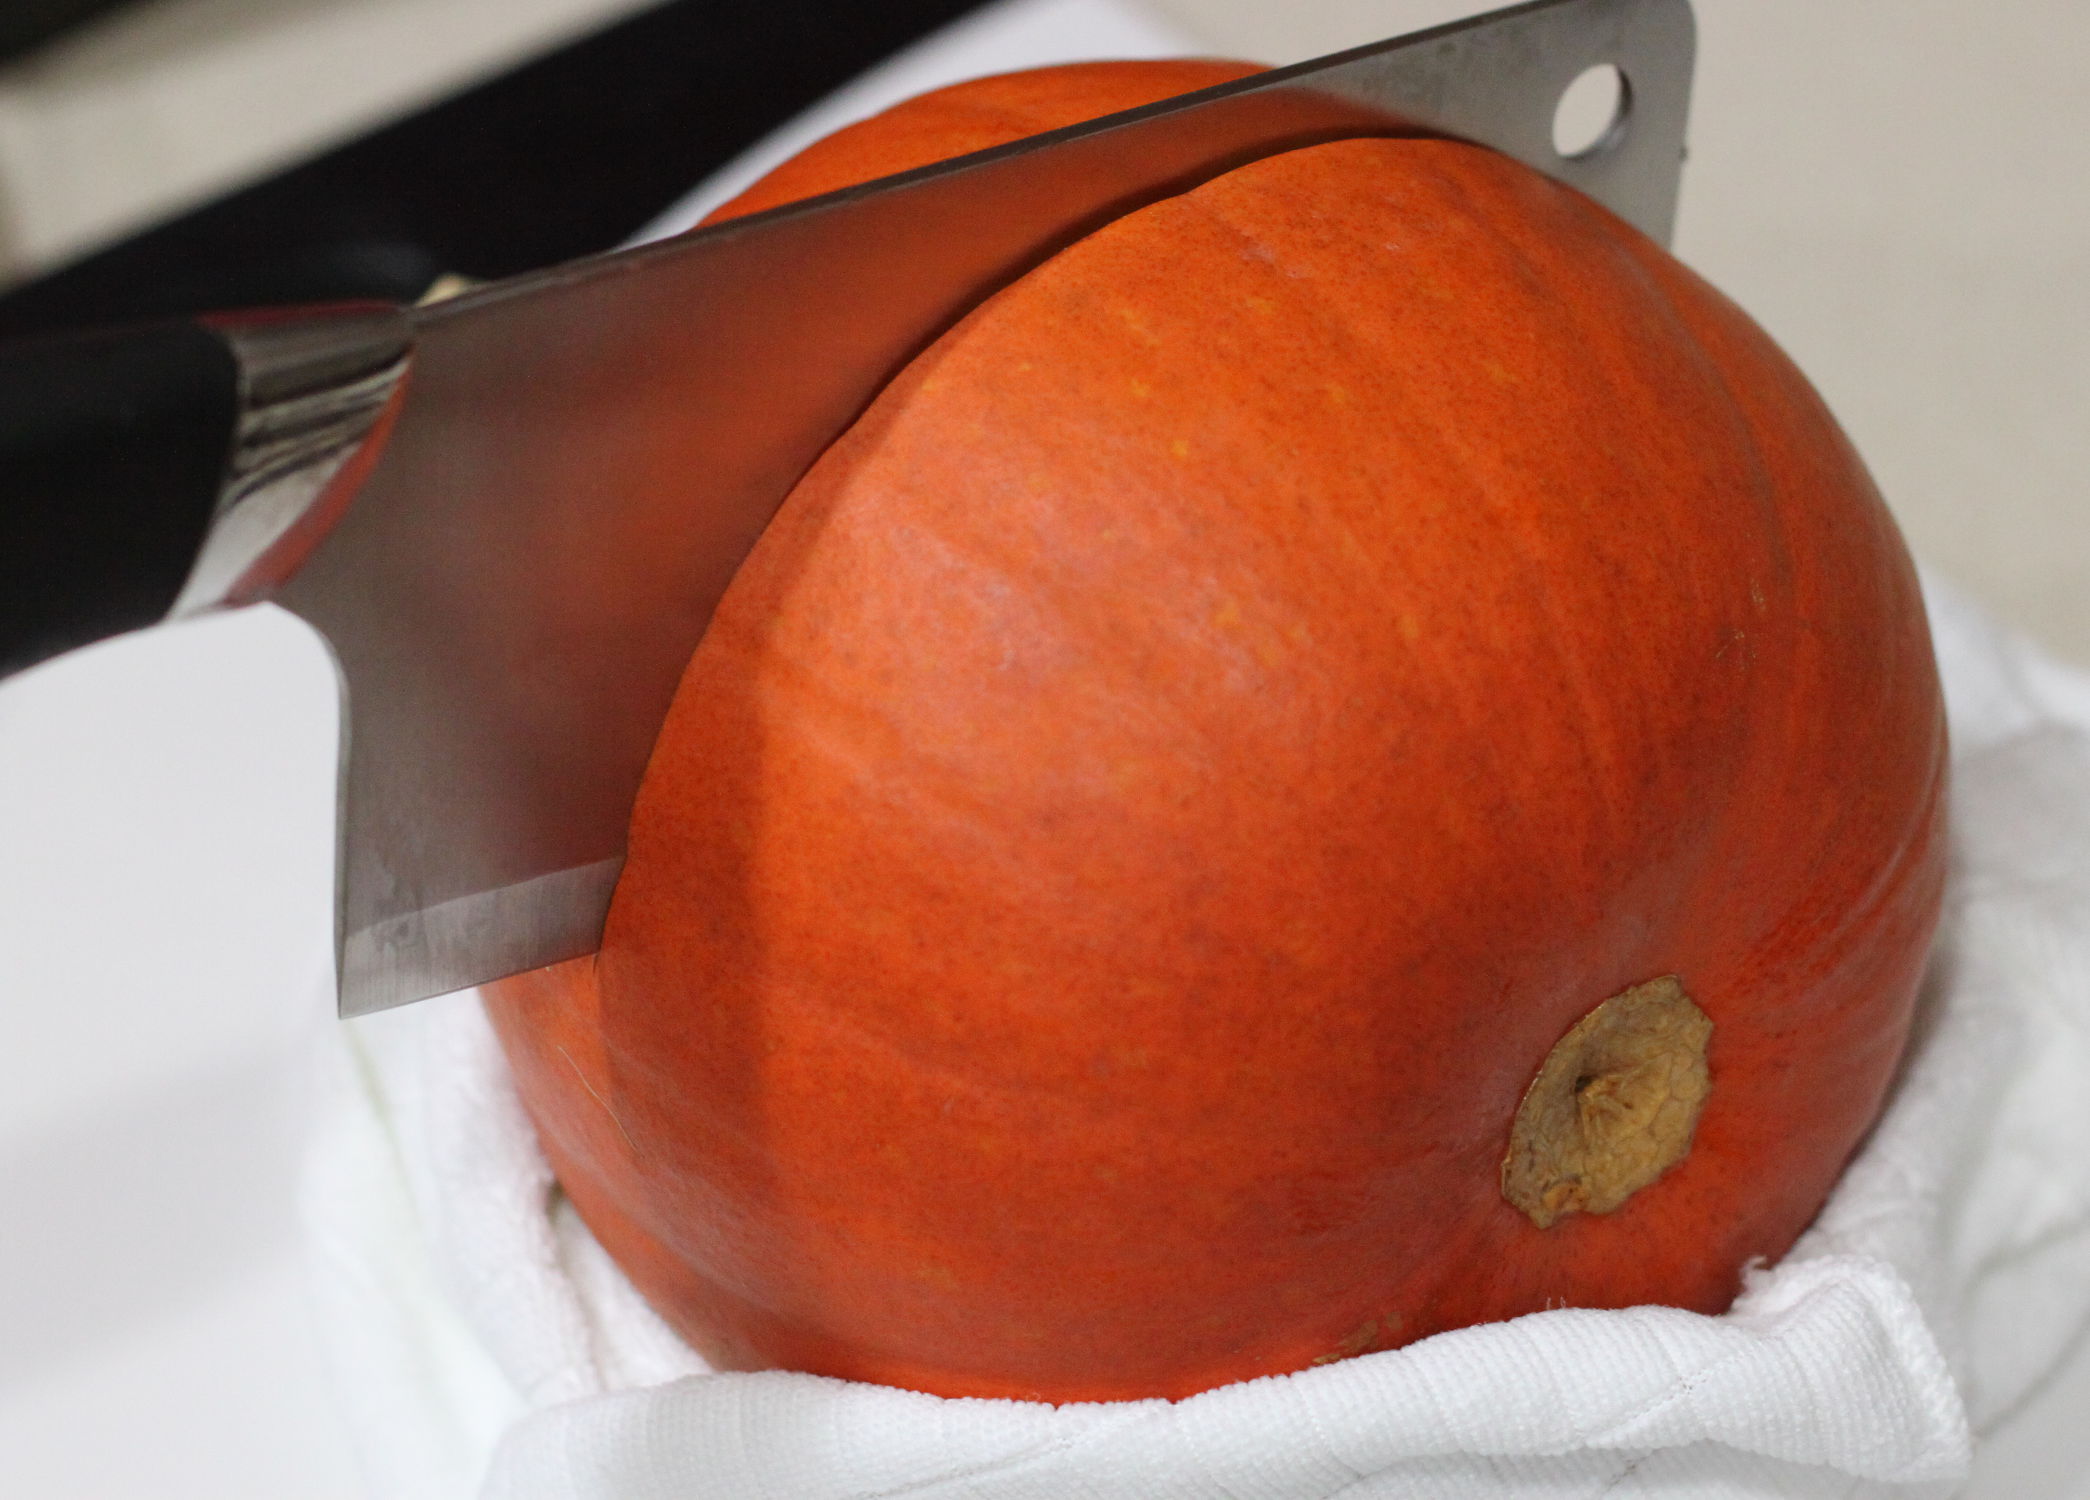
The easiest way to open a pumpkin needs three tools: a mallet (here, substituted by a hammer with a paper towel to soften the blow), a meat cleaver, and a kitchen towel.
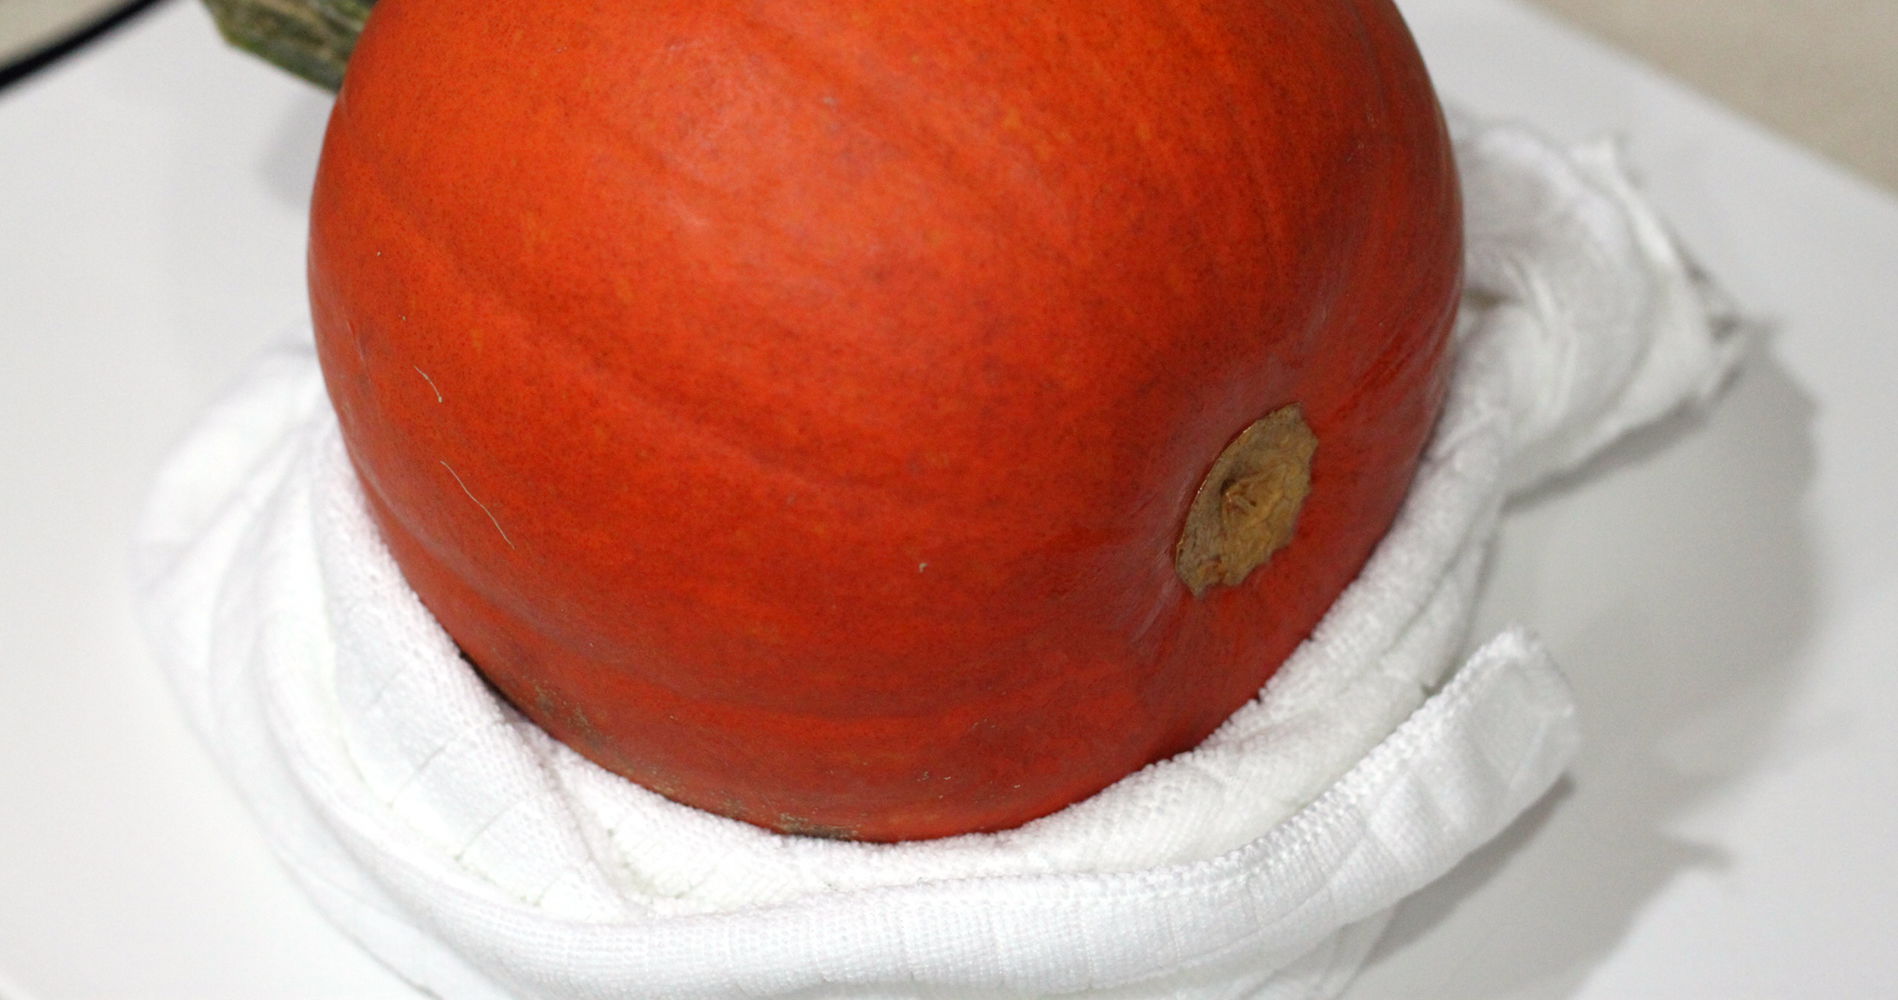
First, wrap the towel around the pumpkin so it won’t roll off your cutting board.
Second, grab the knife in one hand and the mallet in the other. Position the cleaver on top of the pumpkin, and use the mallet to gently pound the cleaver in (as shown up top). Do not attempt to hold the pumpkin; that’s what the towel is for.
Finally, put the hammer down, and use the knife to finish separating the two pumpkin halves (the knife should be stuck in the pumpkin, and will sit there even if you let go of it). Once you’re through the pumpkin partway, its fairly easy to cut it the rest of the way.
The nice thing about this method is that at no point is any part of you in the path of the knife were it to slip, unlike the approach of trying to force the tip of a chef’s knife through.
Cleaning out the slimy fibrous strands
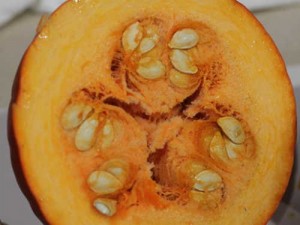
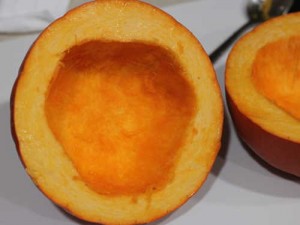
The next step is to clean out the fibrous strands and seeds that reside in the middle of the pumpkin. The easiest way I’ve found to do that is with a tea spoon. You can also separate out the seeds (and cook them) if you’d like, though personally I just scoop it all into the trash.
The stems usually break off fairly easily. Hold the pumpkin sideways in one hand, and snap the stem off with the other. If it won’t detach, give it some taps with the mallet or the cleaver. You’ll want them off so you can flip the pumpkins face-up later.

Baking out the water
Pumpkins have a lot of water. Our goal here is to get rid of some of it, while also developing some extra flavor from browning.
The first bake

I line a jellyroll pan with foil to make cleanup easier. Either way, lightly oil and then put the pumpkins face-down on the pan. Put on the middle rack of the preheated 425°F (220°C) oven and bake for approximately an hour, rotating halfway through if your oven isn’t completely even. Optionally, flip pumpkins face-up (using tongs, spatula, or even your hands if you’re quick) and bake until slightly browned (around 10 minutes). Take pumpkins out of oven and, if not already face-up, flip face up.
Reduce oven temperature to 350°F/175°C (second bake is done at lower temperature). Allow pumpkin halves to cool for 30 to 45 minutes. The taste should be pumpkin, but very weak (watery).
The purée
The second bake
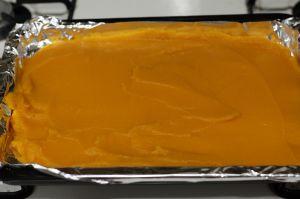
Replace the foil on the jellyroll pan (or, if not using foil, clean the pan). Spread the pumpkin purée evenly across the pan. An offset spatula works well for this, but it doesn’t have to be perfect, so you can use anything convenient.
Put the purée into a 350°F/175°C oven. Unfortunately, the baking time at this stage varies a lot, depending on how thick the pumpkin is, etc. To gauge when its done:
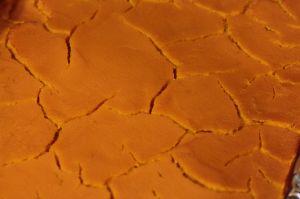
- When done, it’ll be slightly darker on top.
- There is usually a crack or two running through it. Many more cracks will form as it cools.
- It should be around the same thickness as canned pumpkin. Note it will thicken more as it cools.
- And most importantly, it has a robust pumpkin flavor and no longer tastes watery.
Allow the purée to cool (continuing to dehydrate).
Storage and use
The pumpkin purée can be used immediately or packed in air-tight containers and stored in the fridge for a few days or the freezer for a few months. Note that if you freeze it, you’ll liberate even more water, and will probably want to let that run off (or soak into paper towels) before using the thawed pumpkin purée.
Do not attempt to can the pumpkin purée. It has too low acidity, so it is not safe when canned at home, even when using a pressure canner; commercial pumpkin purée is canned in special canners with much higher pressure, controlling for heat and acidity in a way not easily achieved at home.
Additional Photos
Additional photos can be found at (link to be added before publication).
Filed under guides
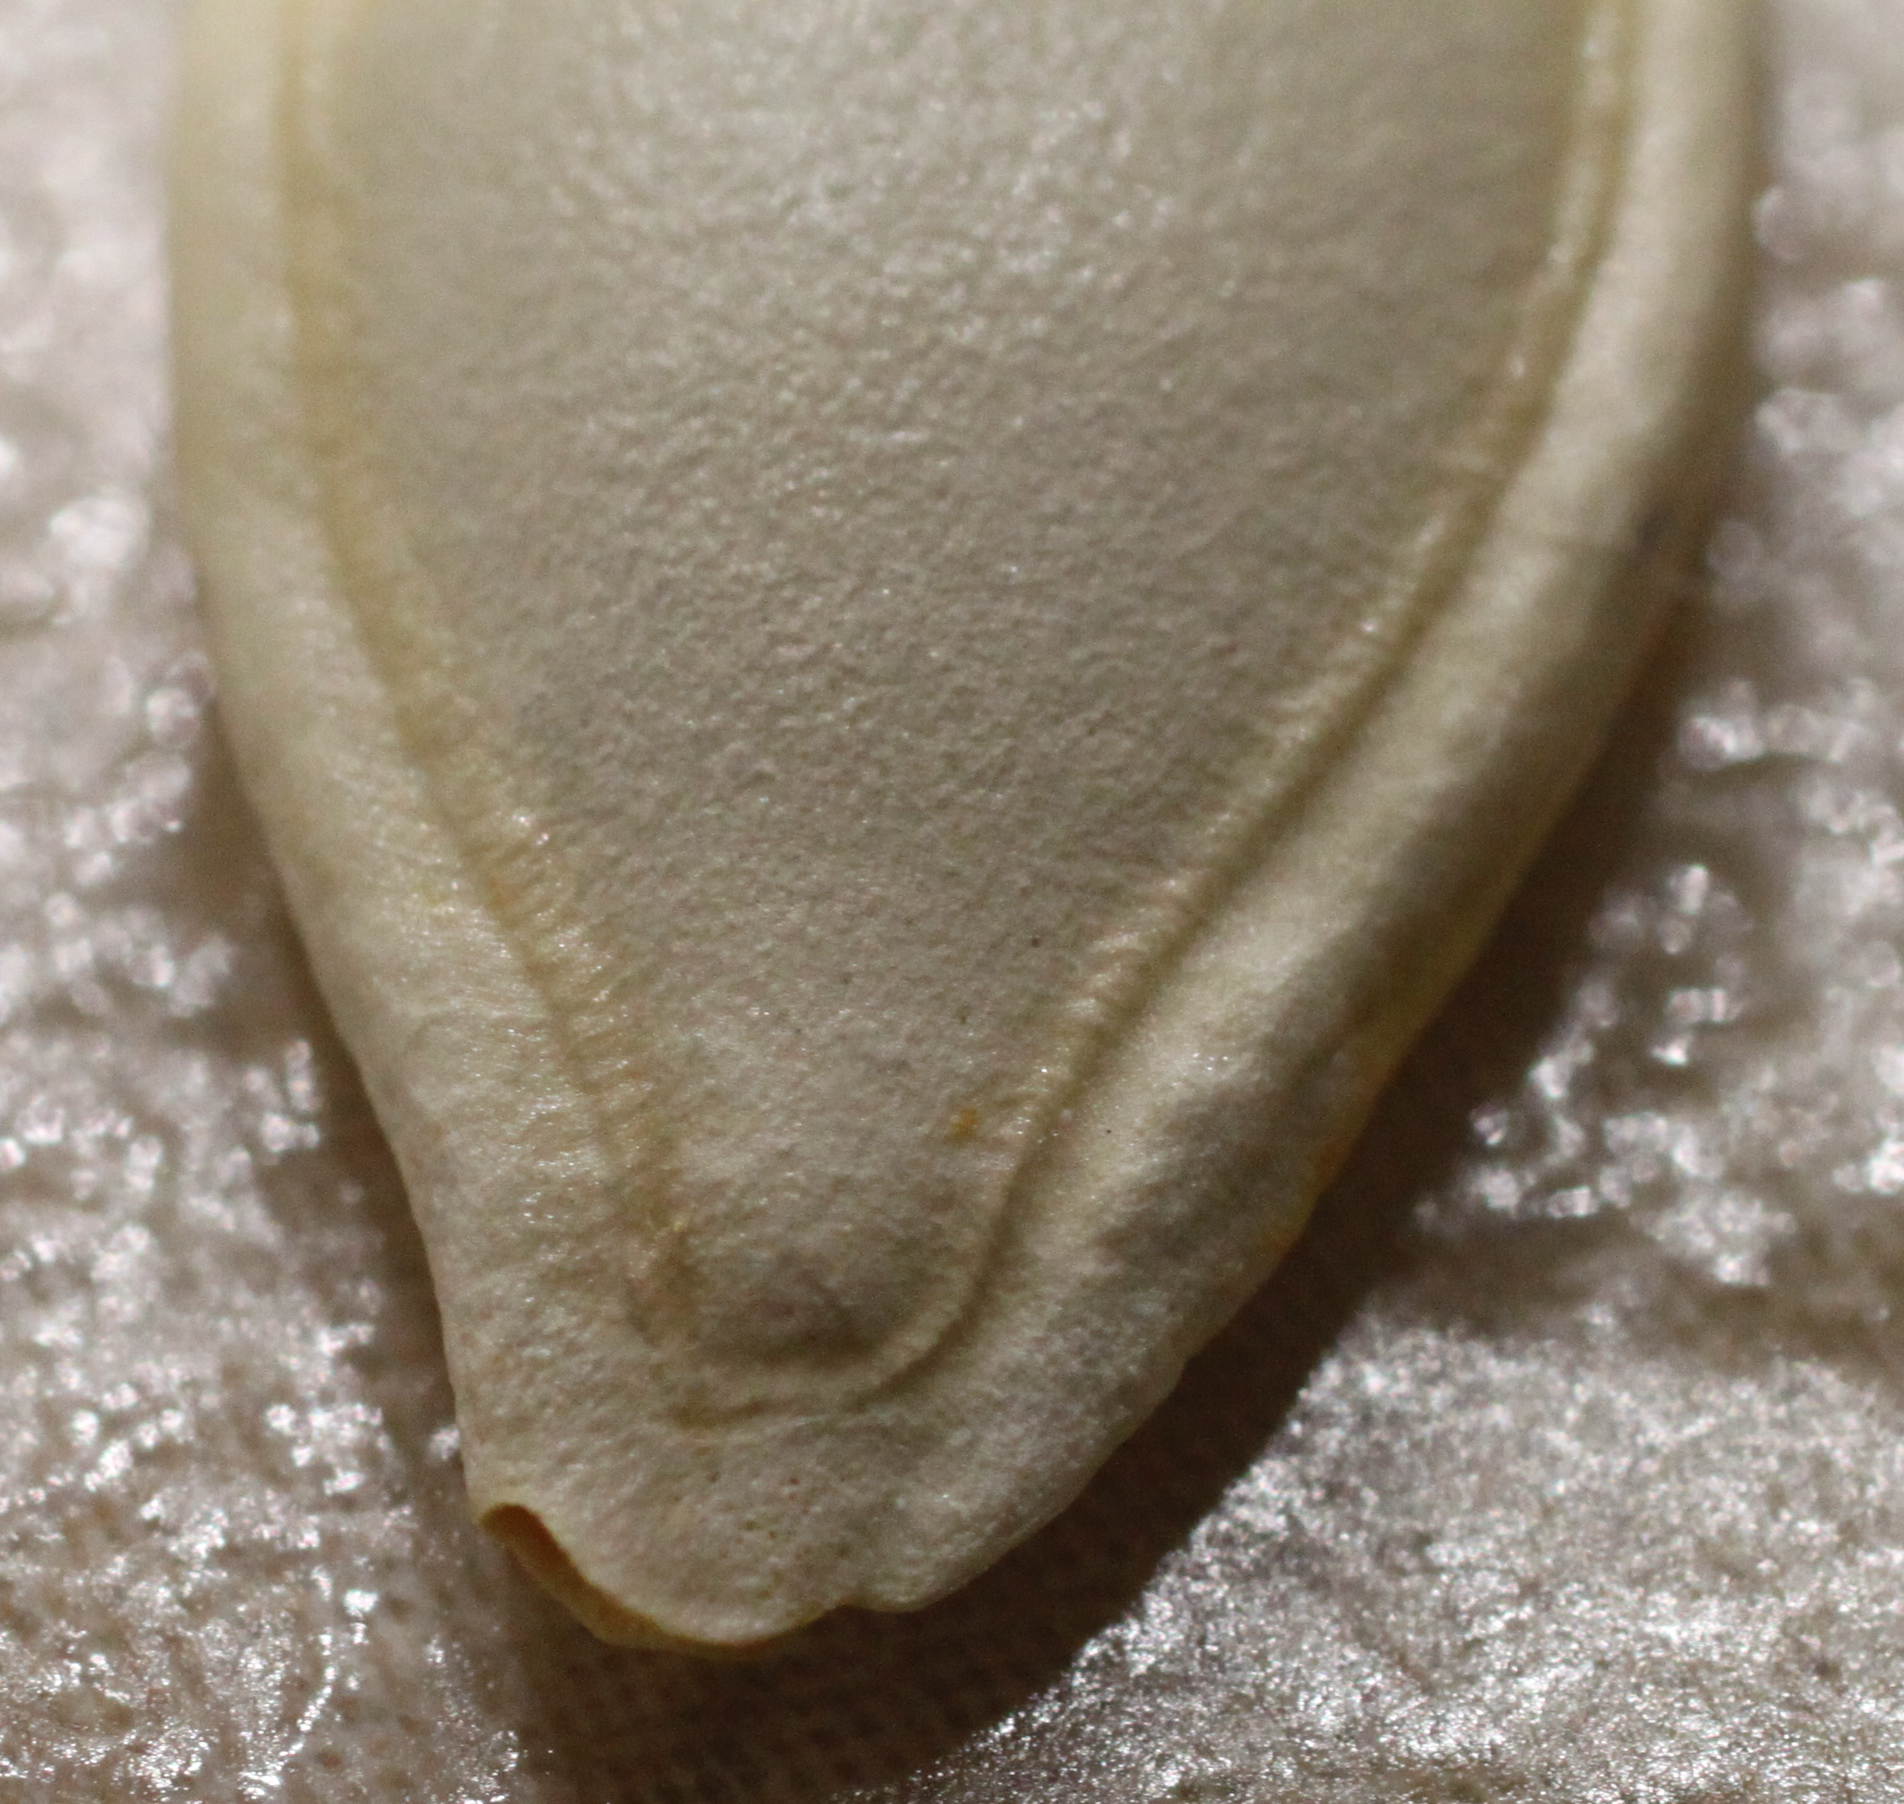
It never occurred to me to stare at the seeds!
I know what we’re doing tonight for Halloween.
Yes, make sure to click on the picture of the seed to embiggen.
Have you ever tried sauteing the strands and seed and then adding the oil (butter) in to the pumpkin puree? We do that when making butter nut squash soup, and it makes a big difference in the flavor.
That is a really awesome idea! I’m going to do this.
I always flavor my soup with Kernöl. :-)
I hear (from America’s Test Kitchen) that an ice cream scoop works well for scooping out the insides – sharper edge, and holds what it scoops.
That makes sense. I’ll try that next time. Maybe the robot will get a little less to eat that way :-P
You know, I never really liked Pumpkin flavored anything but maybe I’ll give this a try. :)
For jack-o-lanterns, we use clam shells to do the scraping. They fit in your hand, the curve is just right (if not, get a smaller or larger shell), they’re cheap, and there’s no handle to get in the way. Of course, if you’ve just cut the pumpkin in half, then the latter is no longer a consideration…
MAKE SURE TO PUT BAKING POWDER IN YOUR HAIR FOR THE BEST RESULTS
Hi. How long is the second bake?